- Messages
- 2,307
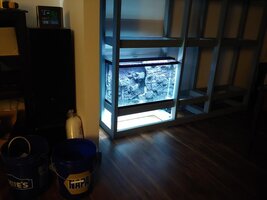
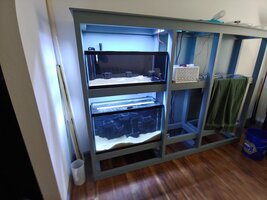
This is part 2 of a 5 part build. The overview is at John's network tanks part 1 - Freshwater Aquarium Builds 429639
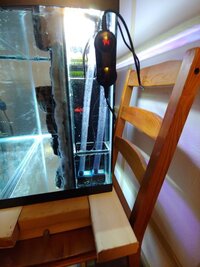
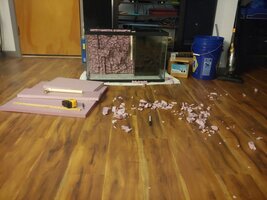
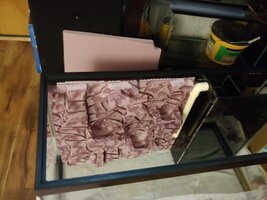
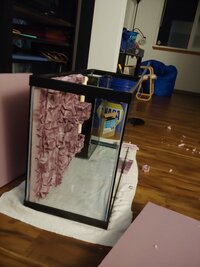
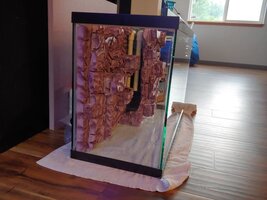
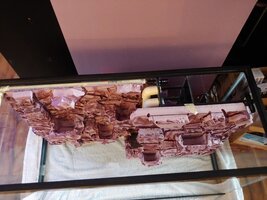
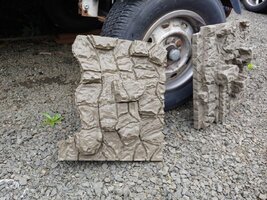
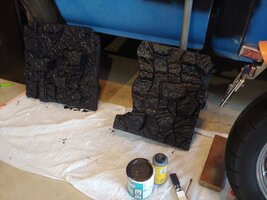
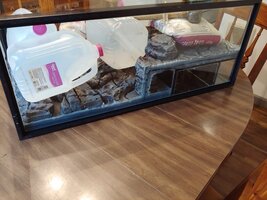
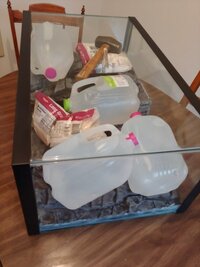
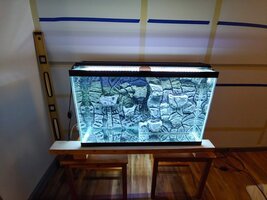
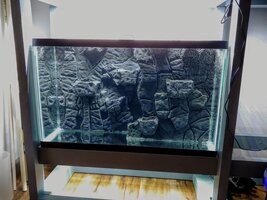
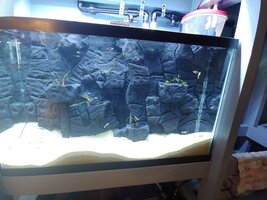
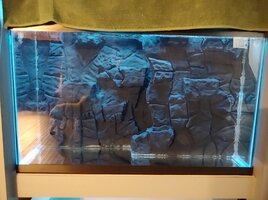
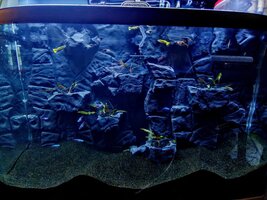
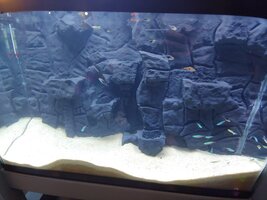
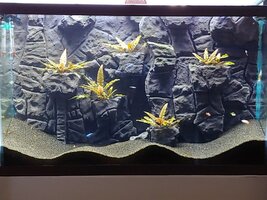
In this thread I will show how I built an oversized all in one style filter system to be used secondarily as a nano sump and a plantable 3D background to hide it. I will also talk about things I would do differently if I did it again.
I started with a dirty old saltwater used 29 I found very cheap on Craigslist. It needed significant cleaning.
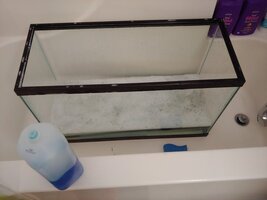
Into the bathtub it went, I scrubbed with Dawn, comet, just about everything in the house and still had a little salt residue/cloudy glass. I ended up polishing it with green pads and course automotive rubbing compound. Finally, more Dawn and allot of rinsing to get any powdered remnants from the compound and comet (which contains bleach).
It came with a chipped and a replacement versa top, I took those apart and did the same. Some folks have a hard time getting the versa top apart, it's easy if you soak it in hot water.
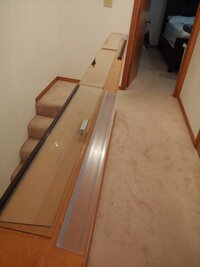
Now I laid out what I had and it looked near new.
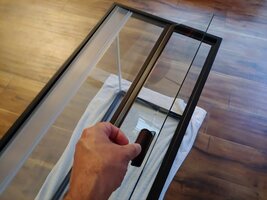
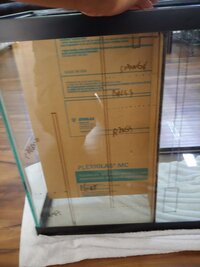
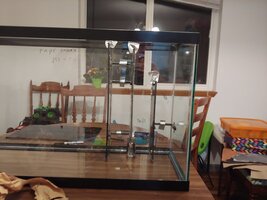
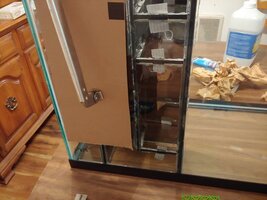
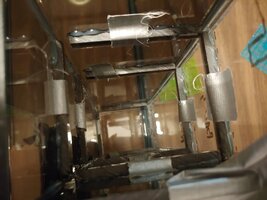
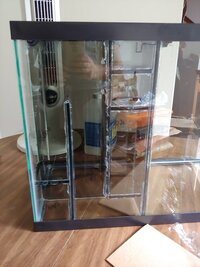
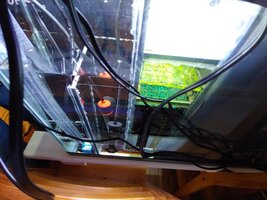
I used 1/4" smoked acrilic to build the filter portion of the tank. I already had the material laying around. This is something I would do different, I used all of it and it's a little too tight for me to work on comfortably. It's functional but I would build it bigger. I laid out my materials, made some measurements and drew the assembly out on the tank. This helped for visualization and have me guide marks for gluing.

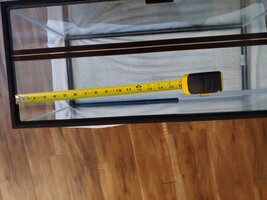
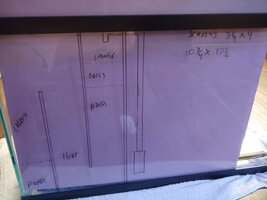
To cut the pieces of acrylic I used a small table saw and a 110 tpI finish blade, it actually did very well but be careful testing your blades, the wrong one will shatter acrilic instead of cut it.
To drill large holes in acrilic you can use a step bit, I have a few specialized acrilic bits but not this large. I used the same step bit I had bought to drill our new kitchen sink,. It was slightly dull but worked great. Always test on scrap if the tools you are using are not specific to the material you have on hand.
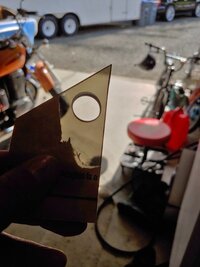

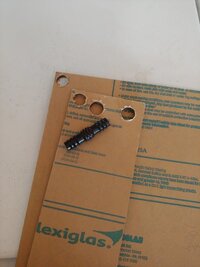
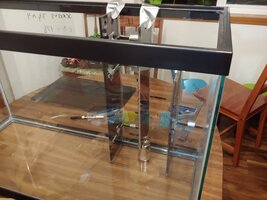
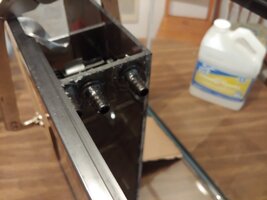
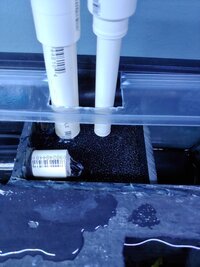
Here's another thing I would do differently. In the pictures you will see I used c clips on barbed 1/2" fittings for the inlet side and the outlet. Later on I ended up drilling the inlets during a water test as the fittings would not keep up with my target gallons per hour. I still used the outlets at 1/2" but fit the intakes with 3/4" cpvc.
Continued in reply:
In this thread I will show how I built an oversized all in one style filter system to be used secondarily as a nano sump and a plantable 3D background to hide it. I will also talk about things I would do differently if I did it again.
I started with a dirty old saltwater used 29 I found very cheap on Craigslist. It needed significant cleaning.
Into the bathtub it went, I scrubbed with Dawn, comet, just about everything in the house and still had a little salt residue/cloudy glass. I ended up polishing it with green pads and course automotive rubbing compound. Finally, more Dawn and allot of rinsing to get any powdered remnants from the compound and comet (which contains bleach).
It came with a chipped and a replacement versa top, I took those apart and did the same. Some folks have a hard time getting the versa top apart, it's easy if you soak it in hot water.
Now I laid out what I had and it looked near new.
I used 1/4" smoked acrilic to build the filter portion of the tank. I already had the material laying around. This is something I would do different, I used all of it and it's a little too tight for me to work on comfortably. It's functional but I would build it bigger. I laid out my materials, made some measurements and drew the assembly out on the tank. This helped for visualization and have me guide marks for gluing.
To cut the pieces of acrylic I used a small table saw and a 110 tpI finish blade, it actually did very well but be careful testing your blades, the wrong one will shatter acrilic instead of cut it.
To drill large holes in acrilic you can use a step bit, I have a few specialized acrilic bits but not this large. I used the same step bit I had bought to drill our new kitchen sink,. It was slightly dull but worked great. Always test on scrap if the tools you are using are not specific to the material you have on hand.
Here's another thing I would do differently. In the pictures you will see I used c clips on barbed 1/2" fittings for the inlet side and the outlet. Later on I ended up drilling the inlets during a water test as the fittings would not keep up with my target gallons per hour. I still used the outlets at 1/2" but fit the intakes with 3/4" cpvc.
Continued in reply: