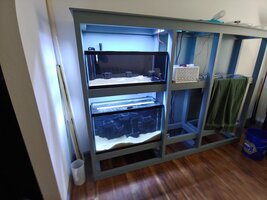
John's network tanks part 2 DIY filter and 3D background

John58ford

Well Known
Member
Messages
2,307
This is part 2 of a 5 part build. The overview is at John's network tanks part 1 - Freshwater Aquarium Builds 429639

In this thread I will show how I built an oversized all in one style filter system to be used secondarily as a nano sump and a plantable 3D background to hide it. I will also talk about things I would do differently if I did it again.

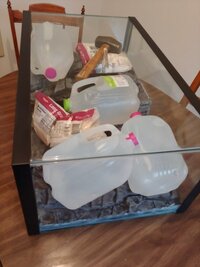
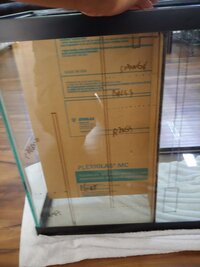
I started with a dirty old saltwater used 29 I found very cheap on Craigslist. It needed significant cleaning.
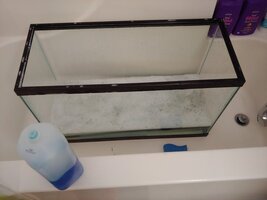
20190915_130859.jpg
Into the bathtub it went, I scrubbed with Dawn, comet, just about everything in the house and still had a little salt residue/cloudy glass. I ended up polishing it with green pads and course automotive rubbing compound. Finally, more Dawn and allot of rinsing to get any powdered remnants from the compound and comet (which contains bleach).

It came with a chipped and a replacement versa top, I took those apart and did the same. Some folks have a hard time getting the versa top apart, it's easy if you soak it in hot water.
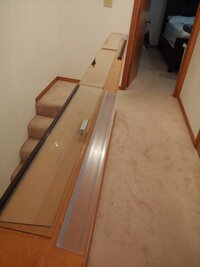
20190915_135054.jpg

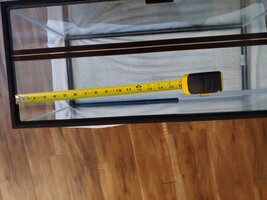
Now I laid out what I had and it looked near new.
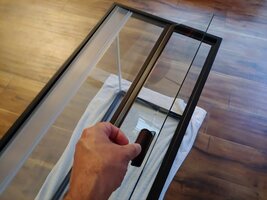
20190915_142741.jpg

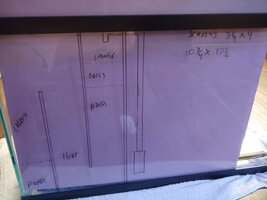
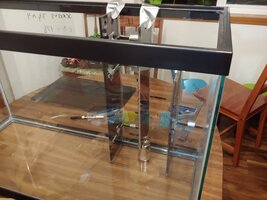
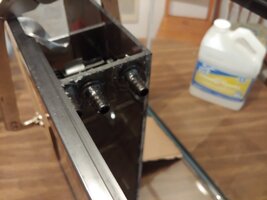
I used 1/4" smoked acrilic to build the filter portion of the tank. I already had the material laying around. This is something I would do different, I used all of it and it's a little too tight for me to work on comfortably. It's functional but I would build it bigger. I laid out my materials, made some measurements and drew the assembly out on the tank. This helped for visualization and have me guide marks for gluing.
20190915_174430.jpg20190915_143656.jpg20190915_201329.jpg
To cut the pieces of acrylic I used a small table saw and a 110 tpI finish blade, it actually did very well but be careful testing your blades, the wrong one will shatter acrilic instead of cut it.
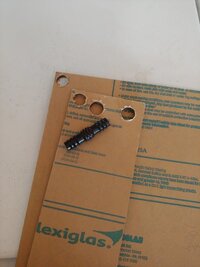
To drill large holes in acrilic you can use a step bit, I have a few specialized acrilic bits but not this large. I used the same step bit I had bought to drill our new kitchen sink,. It was slightly dull but worked great. Always test on scrap if the tools you are using are not specific to the material you have on hand.
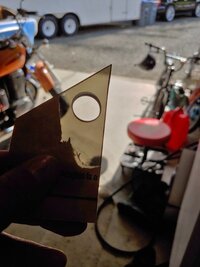
20190916_152919_HDR.jpg20190916_152938.jpg20190916_153014.jpg
Here's another thing I would do differently. In the pictures you will see I used c clips on barbed 1/2" fittings for the inlet side and the outlet. Later on I ended up drilling the inlets during a water test as the fittings would not keep up with my target gallons per hour. I still used the outlets at 1/2" but fit the intakes with 3/4" cpvc.
Continued in reply:
 

Attachments

  • 20190916_153158.jpg
    20190916_153158.jpg
    58.7 KB · Views: 261

Advertisement
  • Thread Starter
  • #2
Now the fun part came. I chose to use clear 100% silicone. Ge 1, it holds glad to acrilic ok but shouldn't be used if the pressure is outward. This pressure is inward in this case and it has worked well.

First I glued the pieces to the back, propped up as necessary and gently taped in place.20190916_203102.jpg20190916_203050.jpg
Then I attached the main wall and clamped it. Too tightly... If you use silicone and acrilic, do not clamp it tight enough to squeeze all the silicone out, think of silicone and acrilic more as a suction cup than glue. The top edge wiggles a little due to this, it does not affect the function in my case but if it leaked elsewhere it would cause issues.
20190916_210426.jpg
Then I glued on little notches to hold the trays I hadn't yet found that support my media and pumps.
20190916_210620.jpg
A couple days later it didn't stink anymore so we took the clamps of and took a look.
20190918_141444.jpg20190916_214439.jpg
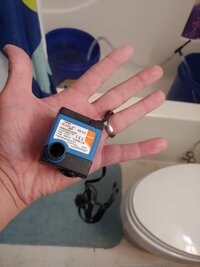
All seemed well so we proceeded with water testing. I chose a pair of small fountain pumps and found the flow rate I needed.
Test this flow rate in a bucket with the hoses at appropriate heights to make sure you hit your target. Small pumps are very sensitive to head pressure. There will be more on this in a later thread.
20190917_162647.jpg
During water testing I found the return flow was to slow and upgraded to 3/4 cpvc and chemical strainers.
20191014_220959.jpg
After test fitting and water testing I checked to make sure everything else fit.
20191006_212956.jpg20191006_213009_HDR.jpg

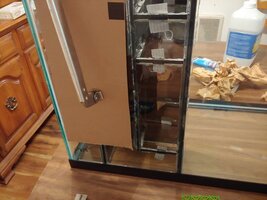
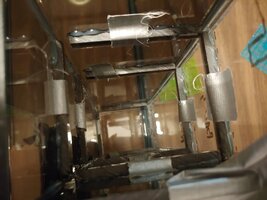
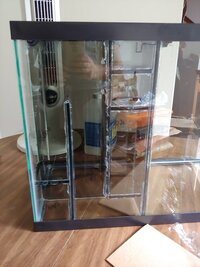
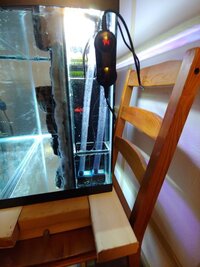
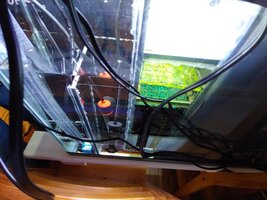
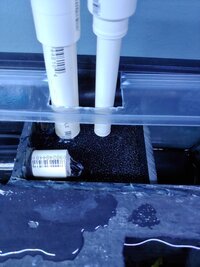
The water flows through the strainers, up the pipe, dumps onto a screen supporting filter floss, flows down into ceramic rings supported by a screen, then around the corner, up into the heater compartment, I actually have fit 3 heaters in there but it's using 2 in the network configuration. The heaters cannot run dry this way, even if I drain the whole main tank and cycle the pumps, the ceramic and heaters are always submerged. Then it over flows into the pump compartment. The screen in that compartment actually holds up a 3rd pump (for the networked tanks) and has enough room to hold half a full size filter bag of activated carbon.

I would build the ledges that hold up the screens thinner as my ceramics media bag "Chinese finger traps" itself in there and is tricky to get back out.

I cut the screens from the bottom of some fry baskets we found at Goodwill and they couldn't be better for the job. Lighting diffuser grid was simply to bulky to get this to work right.

3D background to follow in next reply.
 

Advertisement
  • Thread Starter
  • #3
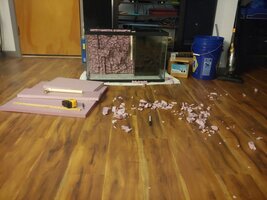
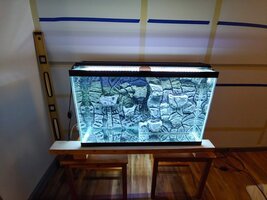
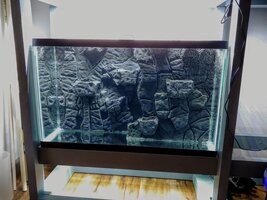
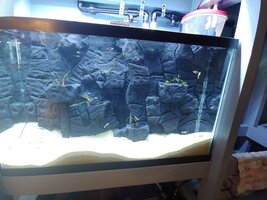
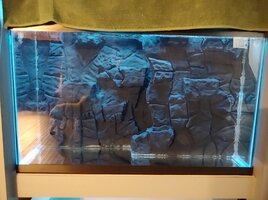
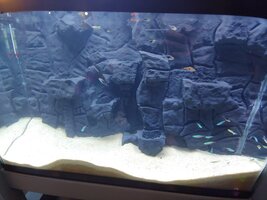
I had built myself a strange shaped tank, and didn't want to see the intakes, but really wanted the lower draw intakes. I can pop the tube out if I need to draw surface skimming but for normal operation I want the water out of the bottom to turn over the most frequently. This would require a custom background. This particular part is one of the cheapest in the series but took the longest overall amount of time second to planning.
First I procured some 1" thick pink foam from home Depot.

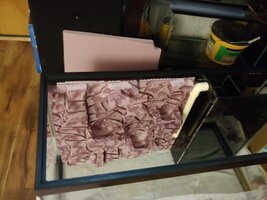
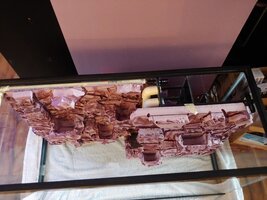
I cut one sheet to fit each area I was trying to cover, then drew out a rocky pattern with a marker. I used a gas soldering iron with a cutting tip to score the rocks outlines. To build the bowls I would cut layer by layer in a c-shape and hot glued them together. Once I got the shapes close I switched the cutting tip out for a torch tip. I used the small torch tip to burn groves and angles into the foam. Do this in a very well ventilated area.
20190919_224357.jpg20190919_224414.jpg20190919_224519.jpg
Test fit it every time you add a bowl or second layer rock. I had to twist it in certain directions to make it fit. Remember the steps and movements they will be very important later
20190920_170757_HDR.jpg20190920_170816.jpg
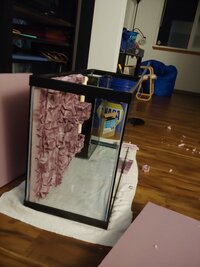
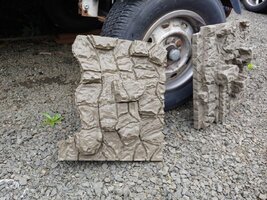
Next, I coated the whole thing with quickrete hydraulic repair cement. It sets very fast, but I wanted it to. Mix first batch to the instructions and let it sit a day. It will seem very powdery when it dries, mix the next several coats heavy on the water. They will re-wet the previous coat and dry at ludicrous speed. Between these coats wait a day each and you will finally start to see it feeling like a sidewalk/garage floor. I coated the front and back about 5 times to get a hardness I was happy with. *Do not drop it* this is just a thin shell. And although it should be fish chewing and siphon scraping durable it's weight will shatter it if it falls over. Mine got knocked over one day and needed some spot repairs.
20190921_120010.jpg
Don't forget to test fit as you build it up in cement if you made it to tight you can chip down one side and fix it. It's too late if you have painted it as the cement won't self bond and re-wet the painted surface.
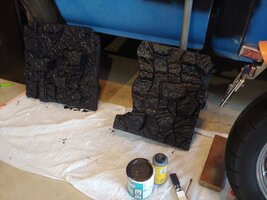
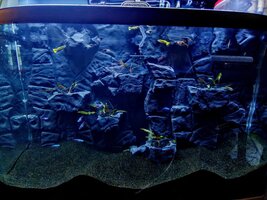
Next I used some dye and dry-lock paint to color it black. I should have stopped here but I chose to highlight it. I'll skip this part but I repainted the thing black again, in the tank... It sucked...Once it's submerged it will look much lighter colored under any type of full spectrum lighting.
20190924_180956.jpg
After 3 good flood coats and a day or so between each it should be ready to go in.
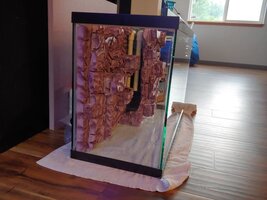
Use lots of silicone. Like 2 or 3 caulking guns worth. Dry fit it, draw lines on the outside of the glass and use them as a guide for your glue. Remember the yoga required to get it in there and set it cleanly on the glue so it doesn't leak or pop out later. Leaking isn't a huge deal if it's clean on assembly but it will look ugly if water gets back there and goes black on you.

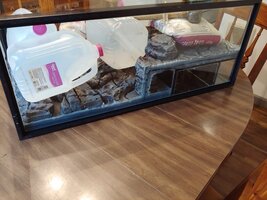
I used whatever I had on have to weight it for a few days, people report bags of sand or gravel with will for this.
20191003_172528.jpg20191003_172515.jpg

Safety testing and finished product pics in reply
 
  • Thread Starter
  • #4
To make sure I didn't have leaching I ran it in a fishless tank with no water change, no material, and the heaters on for 3 weeks. I tested chlorine, GH, KH, and pH regularly with no change. Baring a chemical or metal I can't test for it can be declared "leach resistant".

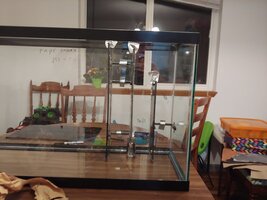
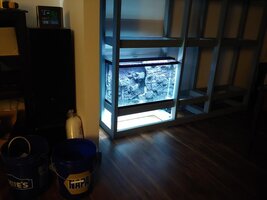
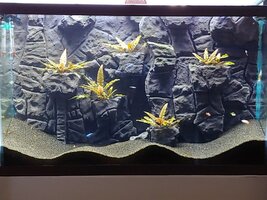
Finally, I added fish, used ceramic rings, waited a week for nitrates to build and put in some crypt wendtiI tropica I propogated from a different tank. I also switched from pool filter sand to blasting aggregate and am very happy with the results. 20191006_212702.jpg
20191027_193350~2.jpg
20191014_230136.jpg
20191107_184551.jpg20191103_093832.jpg20191029_010901.jpg20191108_173729~2.jpg
 

Attachments

  • 20191103_180715_HDR.jpg
    20191103_180715_HDR.jpg
    72.3 KB · Views: 229
  • Thread Starter
  • #6
quick update on this tank.

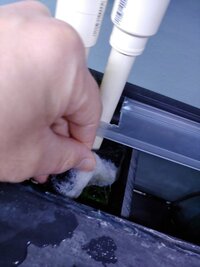
I have found that the filter floss behaves itself if I pin it down with a sponge. The filtration now goes:
Course sponge, multiple layers of floss, bio balls where the chamber is above the running water line, a few layers of sponge to occupy any leftover space, then the rings in the bottom of the first chamber. Here's a picture of the sponge I use to hold down the floss. I added it because occasionally air would get trapped under the floss and it would "burp" a little.
15793022332594805814824764667365.jpg15793022641998654753295693974723.jpg

I'm currently designing a UV sterilizer to fit into the heater section but material sourcing is a little tricky. Even with the smoked acrilic I don't want to risk light leaking into the bio filter section. The dwell time in that section is currently 4 seconds, and I estimate it will be 3 seconds with the addition of the uv assembly.
More to come later.

One more shot of it so we can see how the plants have slowly filled in comparison to the old pictures.
20200117_152055.jpg
 
This is an awesome build. Well done and thanks for sharing this!
 

Random Great Topic!

Advertisement


Advertisement


Advertisement


Back
Top Bottom